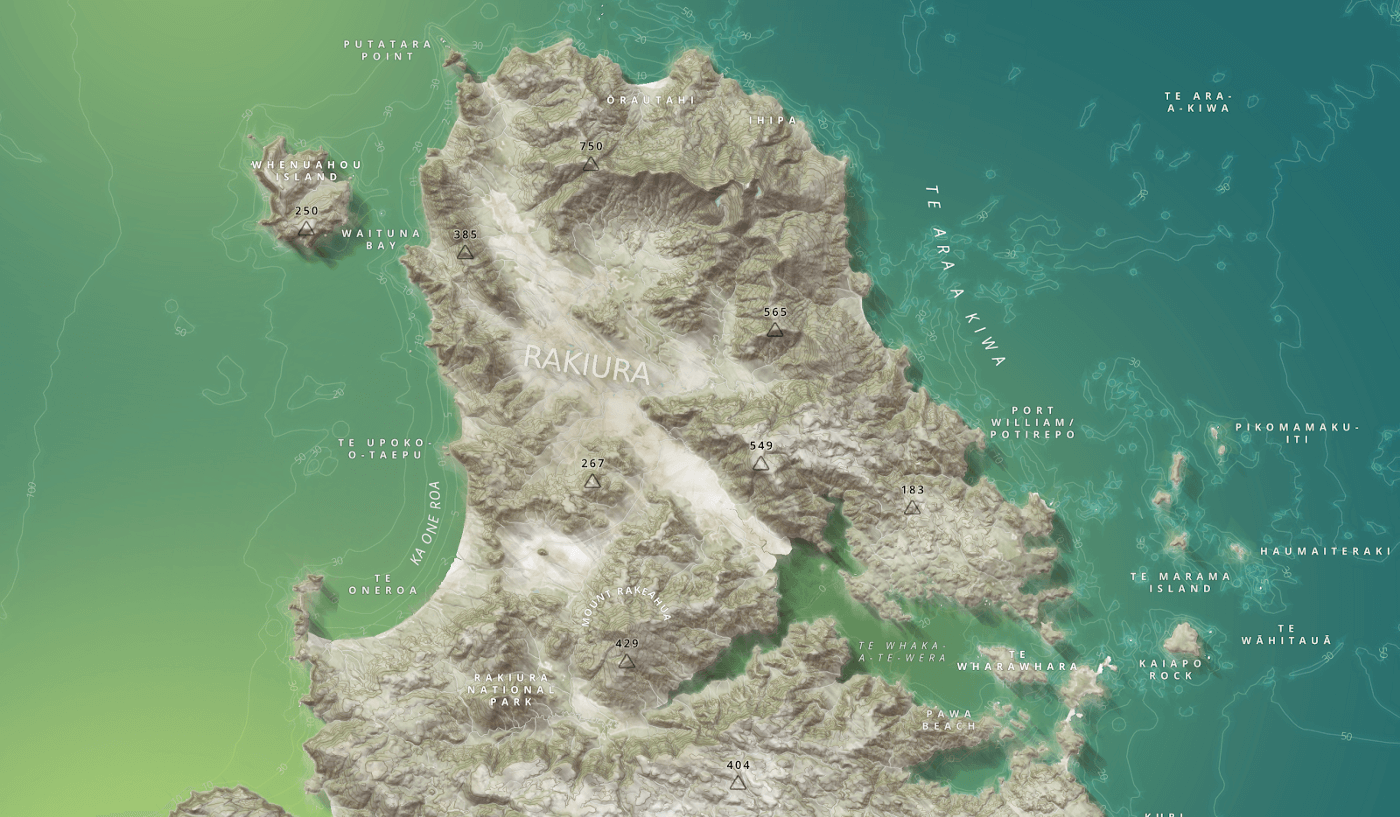
Labels are a key functional and aesthetic element on your maps. Positioning and style options both play a role in adding elegance and a stronger connection between the features on the map and its viewer.
Custom labelling is easy in Studio. This post will show you how.
Give your map labels some shape
Label placement and shape establish relationships between the text and the geographical features they are emphasizing — the curving arc of a coastline mirrored by its corresponding ocean label, a meandering river with its label following its flow, a mountain peak encircled by its name. These all have a great influence on how well a map functions as a whole.
Creating curved labels or labels with a shape or direction (perhaps a diagonal line, or a semi circle) is easy in Studio by creating a new dataset.
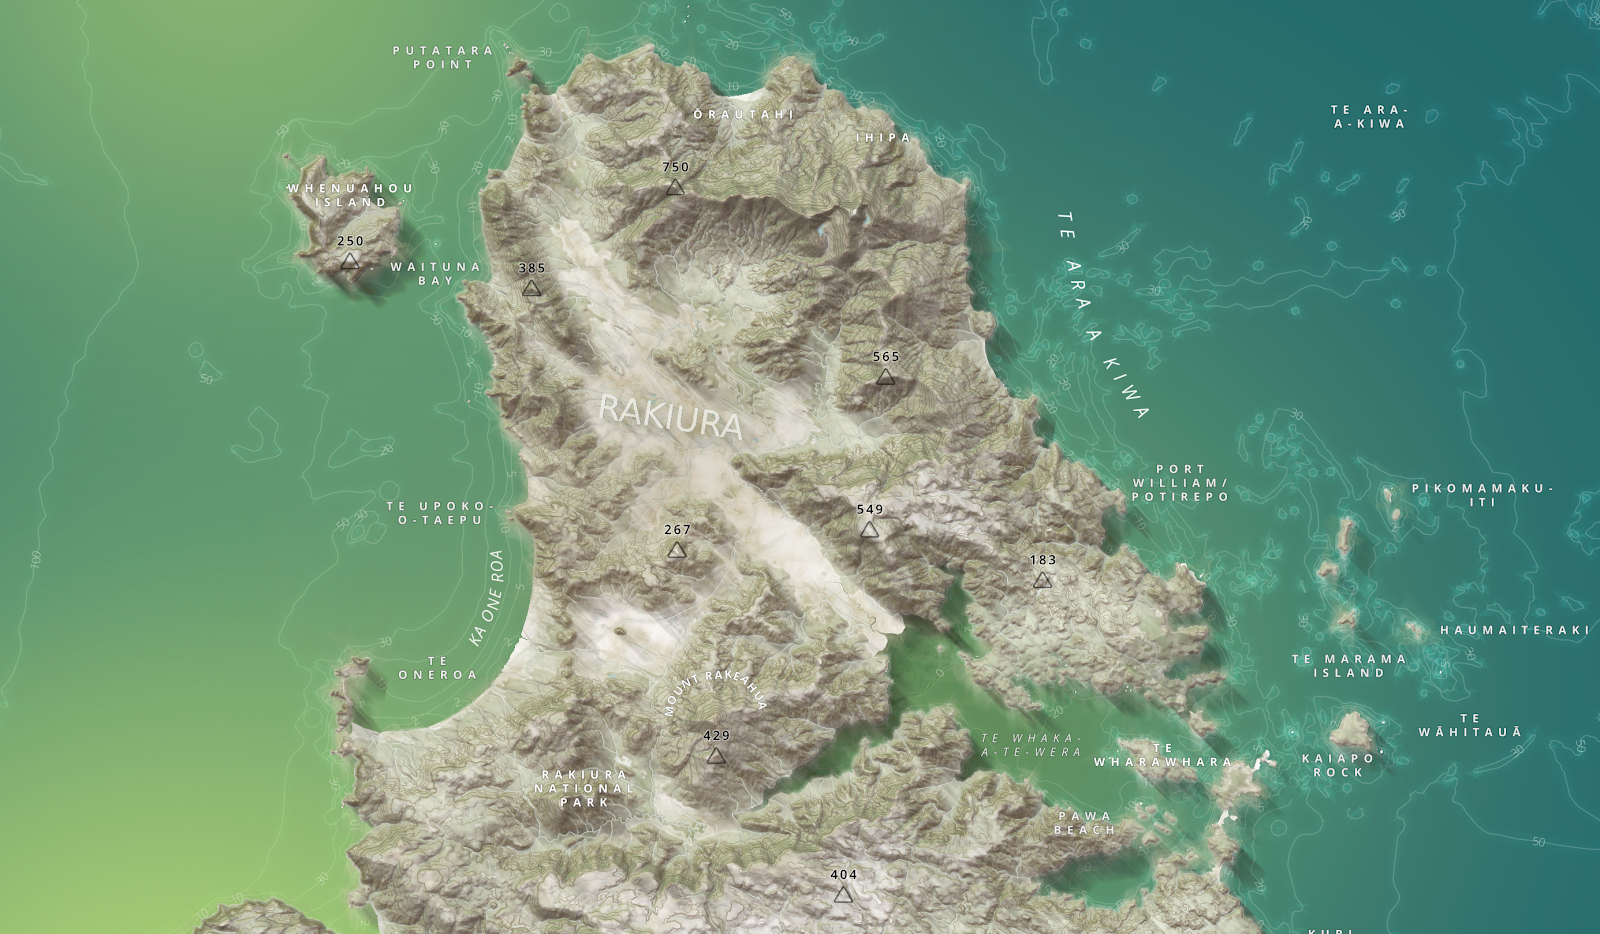
In this example, I am going to create three labels used in the map below; Two curved ocean labels and the circular text around a mountain.
Step 1 — Go to “Datasets” in the top right corner of your Studio account and click “New dataset”.

Step 2 — Give the new dataset a title — such as “Map Labels”. The editor will give you complete zoom control over where you want your label to be placed and its shape.
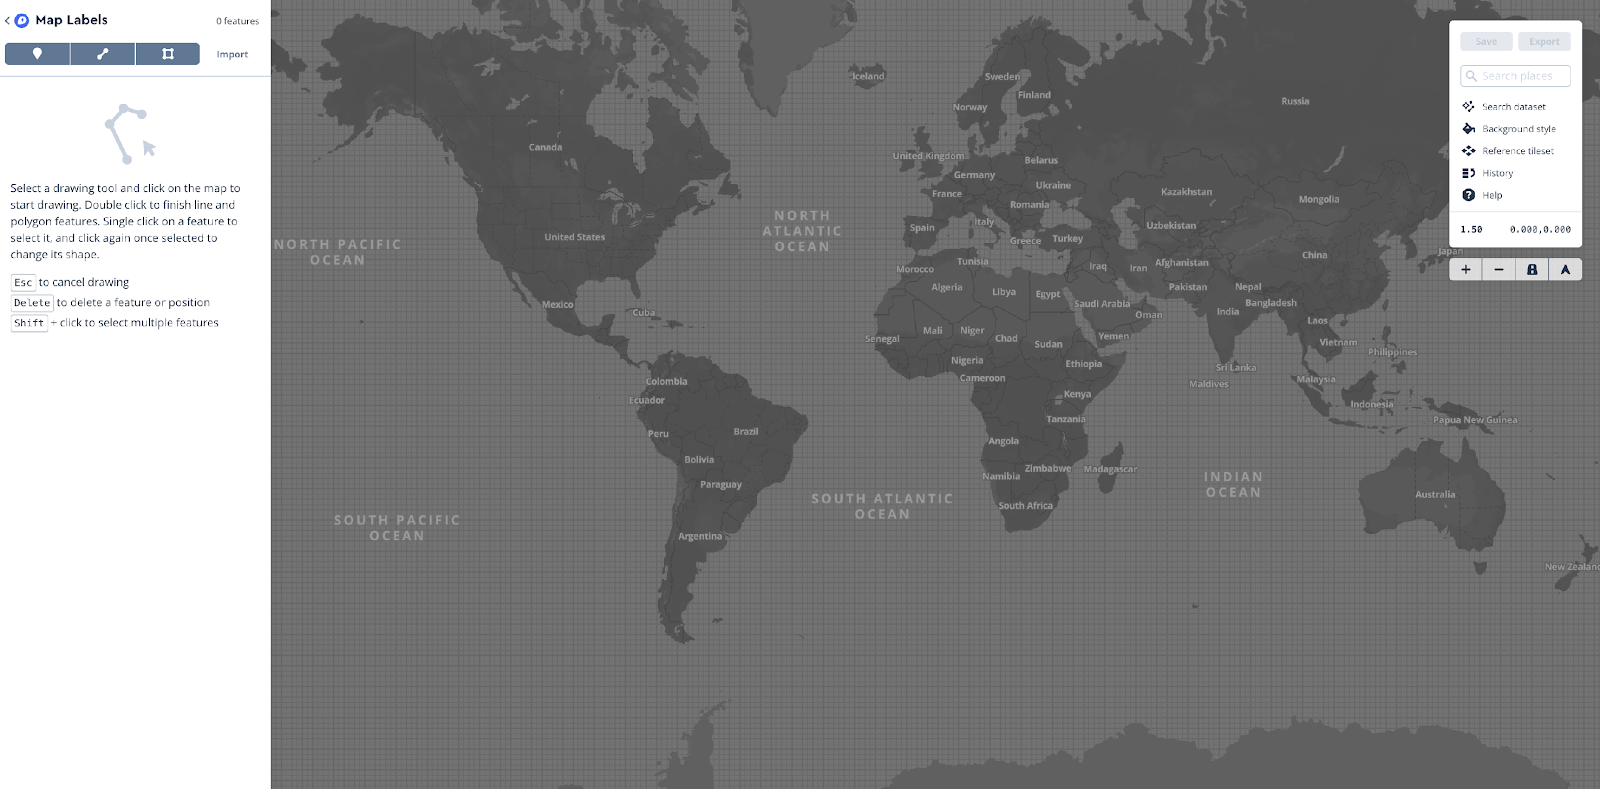
Step 3 — Find and zoom to your area of interest
Step 4 — Select the line drawing tool from the top left (you can create your own custom marker location or draw your own custom polygons too! — Awesome right!?)
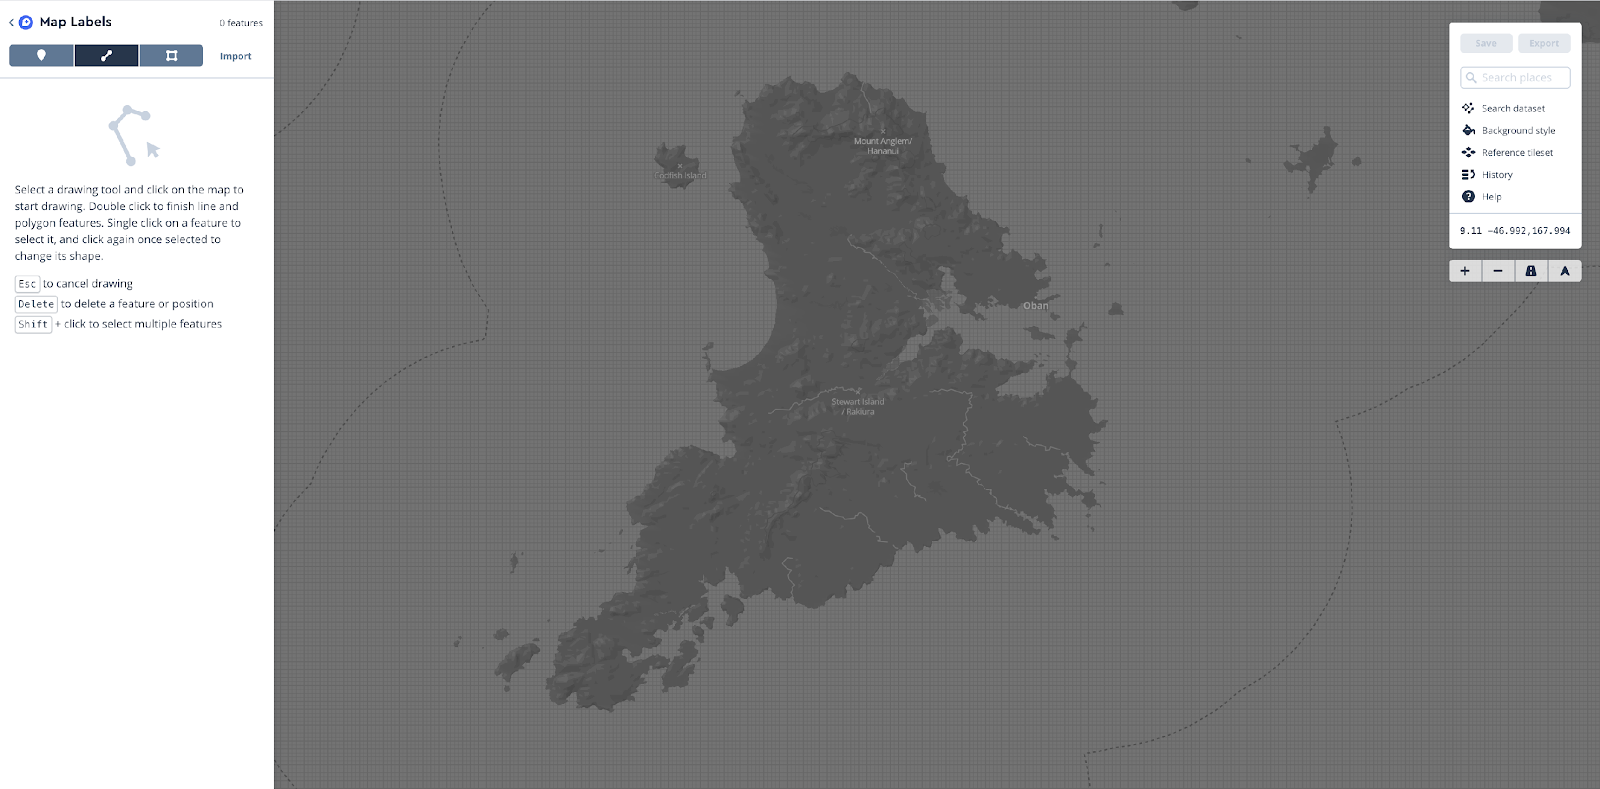
Step 5 — Simply draw a line on the map.
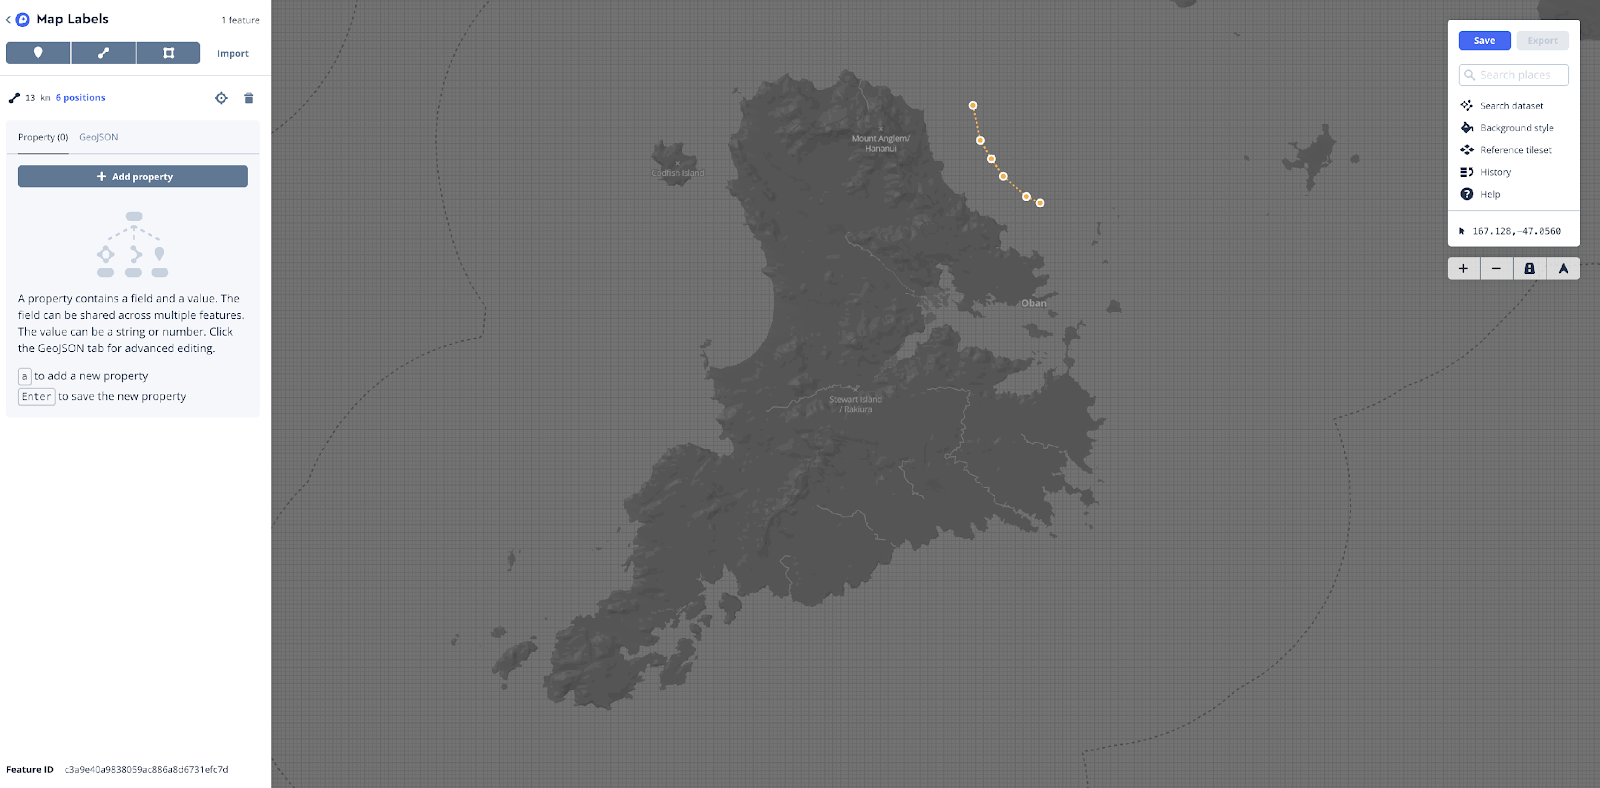
Step 6 — Press “add property” — in this case I will call the field “label” and then type in your label text into the “value” box. Here I am labelling the ocean name to mirror the curve of the nearby coastline — see below.
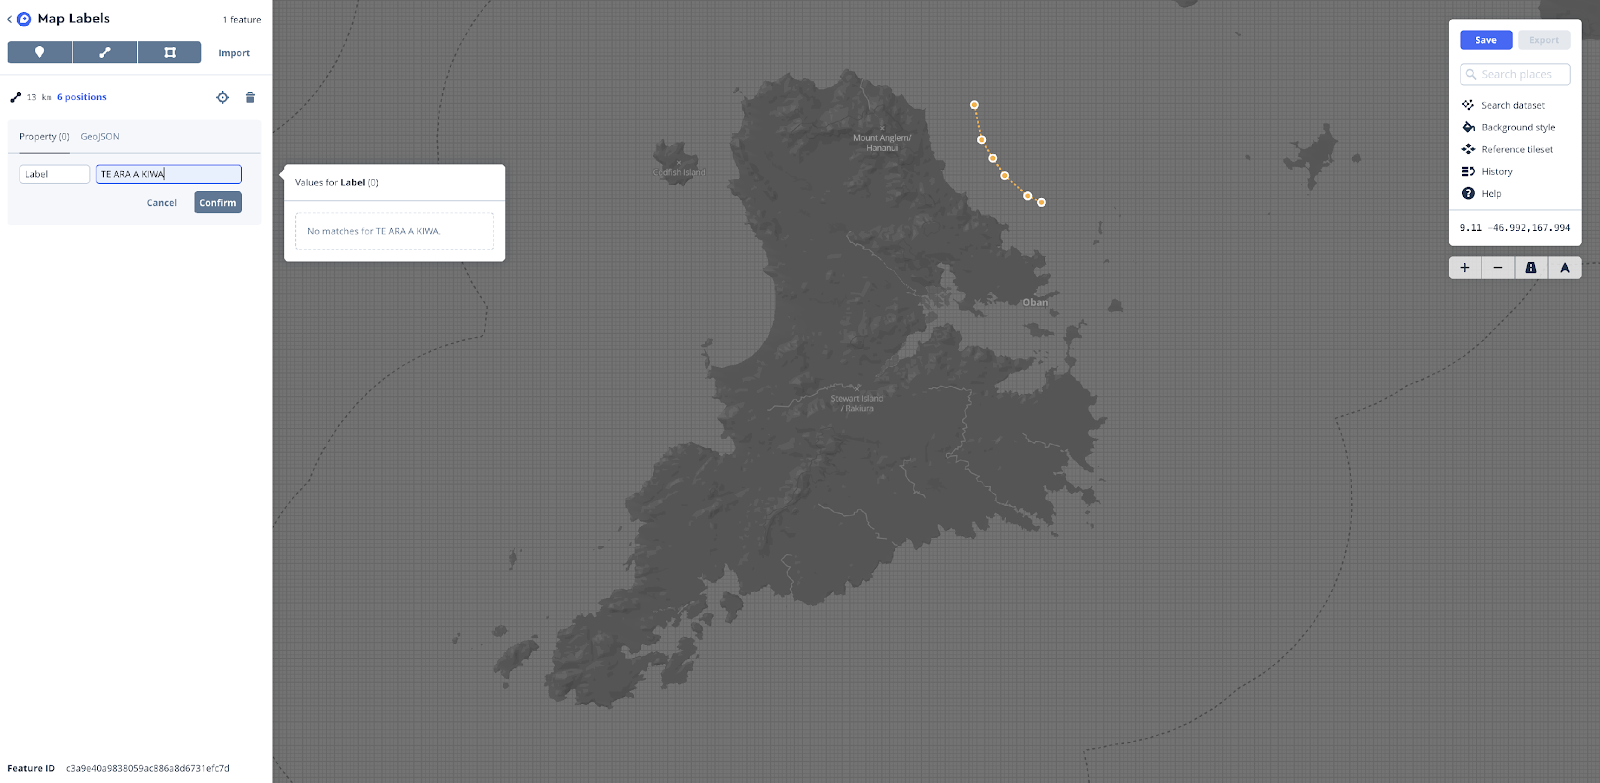
Step 7 — Click “Save” top right and then “Save” again in the pop-up box. The wonderful thing about datasets is you can go back in and edit them! Add more, and make amendments, etc. In the example below I have created 3 lines in the same dataset with different shapes and labels for each — as shown in the original example above.
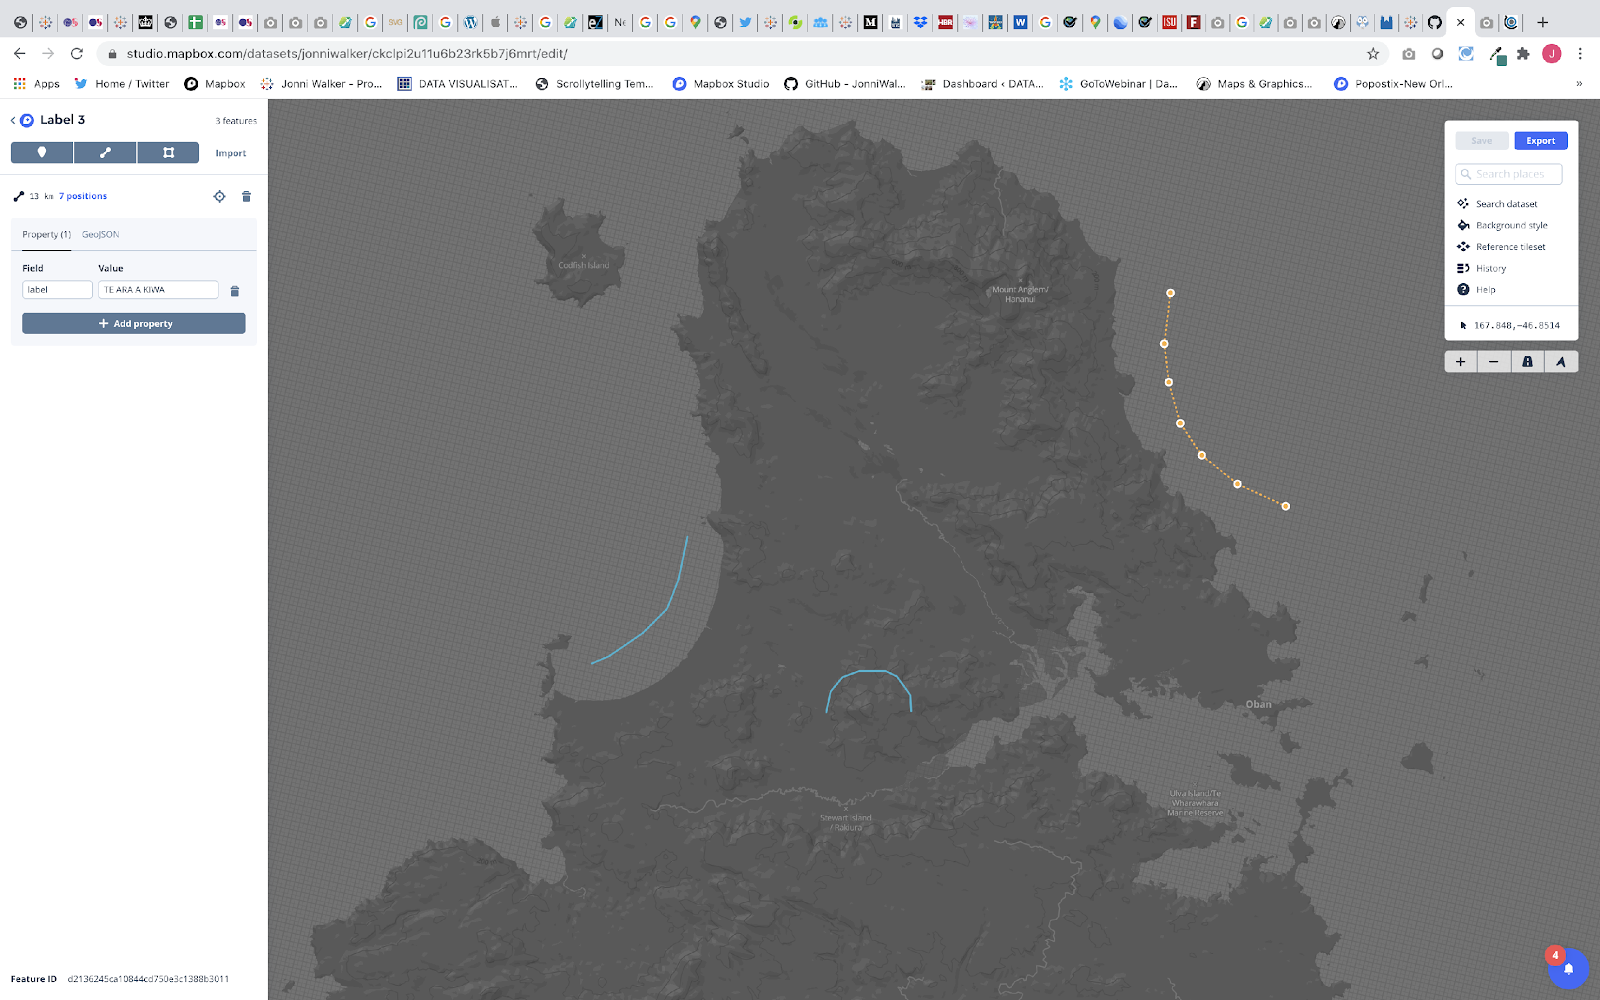
Step 8 — Click “Export” and “Export” again in the pop-up box. This will now appear in your unused layers in Mapbox Studio Styles page!
Styling your labels
Now that label your placement is set, it is time to style. Label styling using fonts, colors, text-spacing, and more can help you capture your aesthetic style or your company’s brand in your map.
Step 1 — Your “map label” dataset should now appear in your unused data sources — select this layer and we are going to use the “Symbol” style.
Step 2 — We will now “Insert a data field” click the button and choose your “Label” field

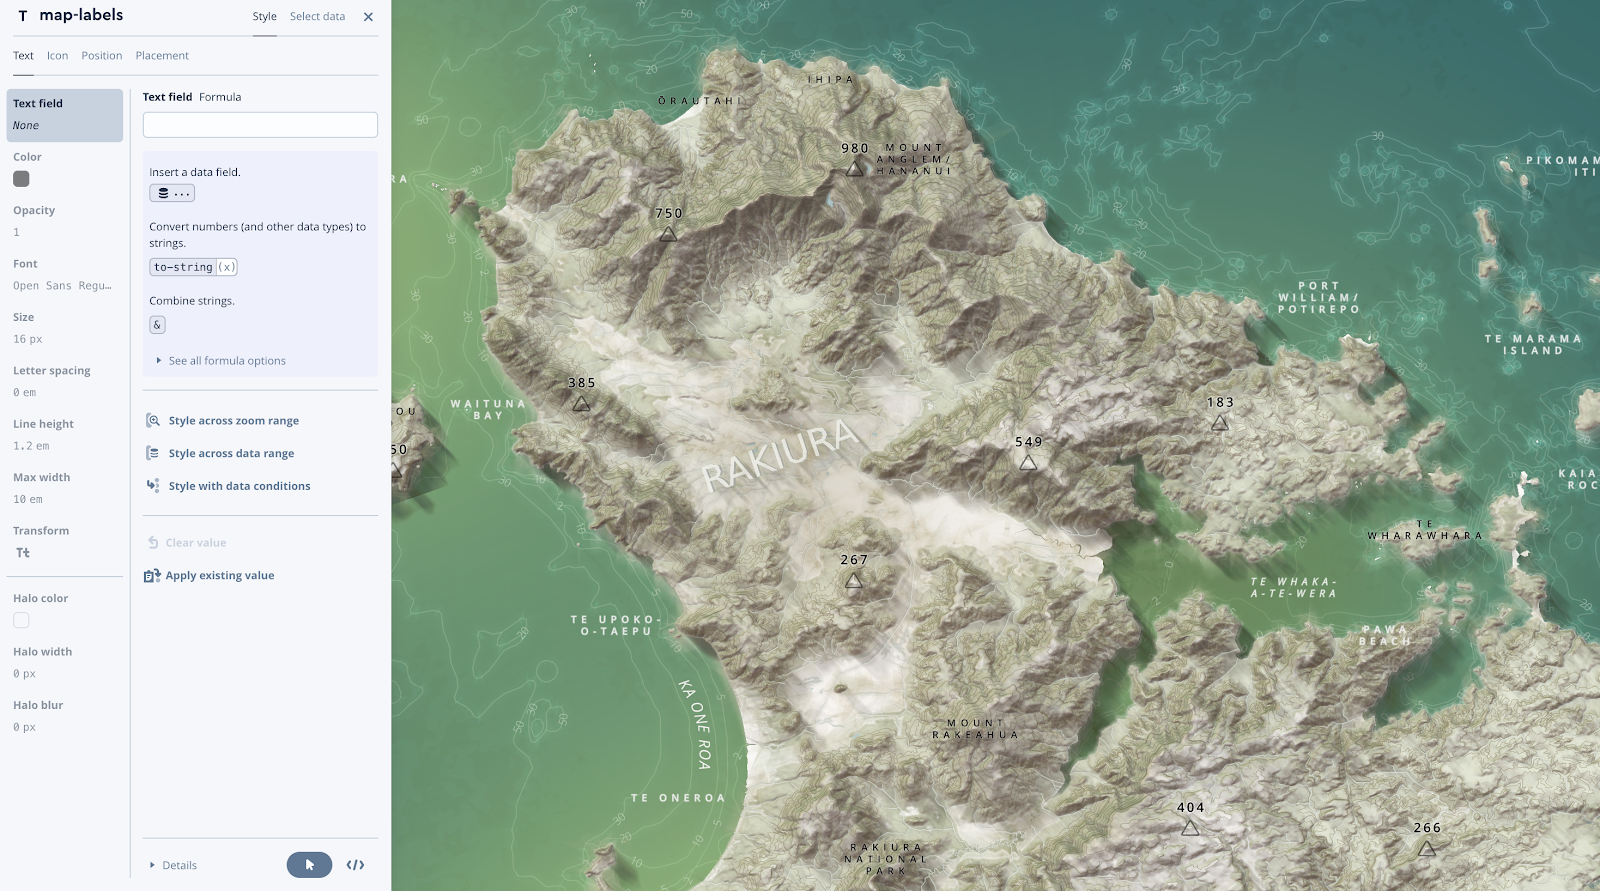
Step 3 — Now select “Placement” as below, and choose the “line” icon. As you can see this has now created a “curved” label
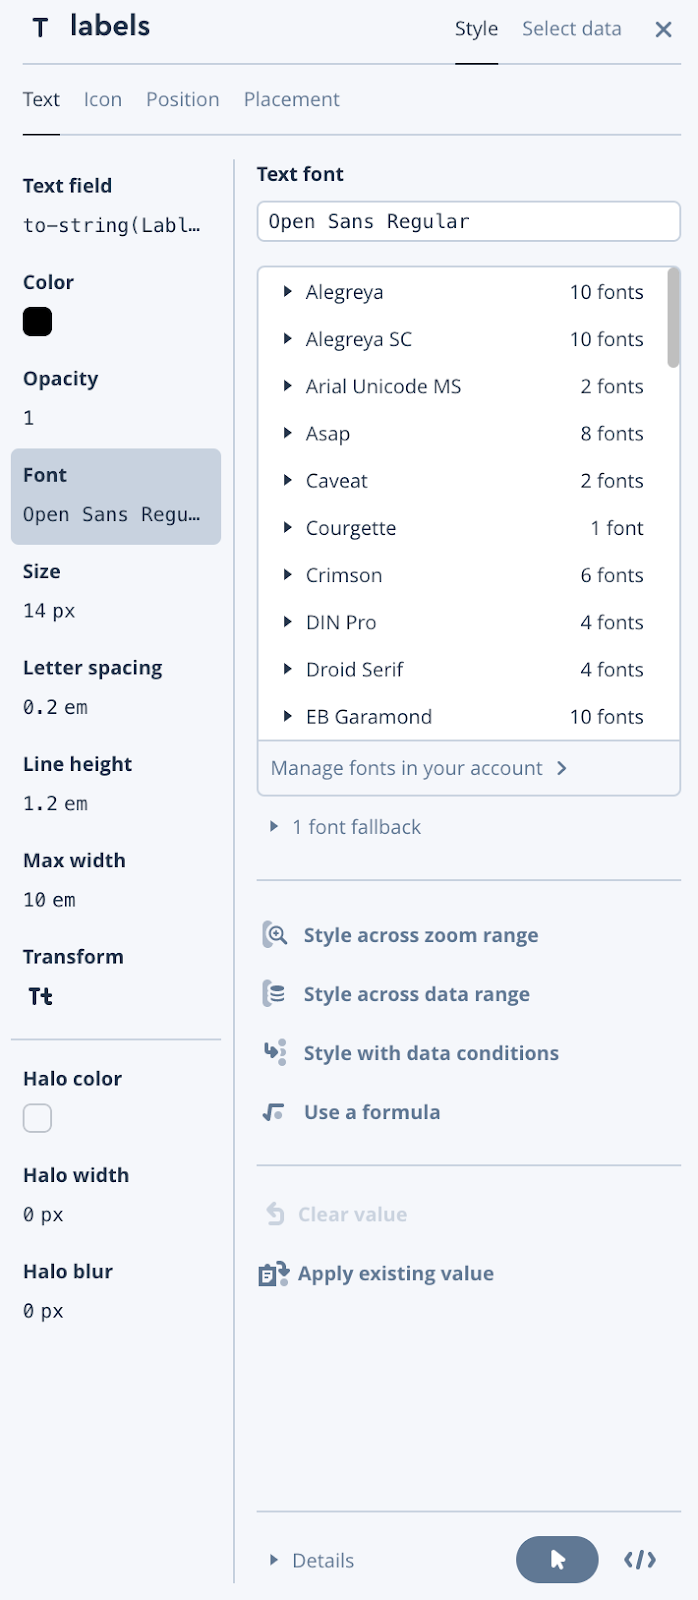
Step 4 — Select “Text” — choose your font. Studio has dozens of built-in fonts ready to use.
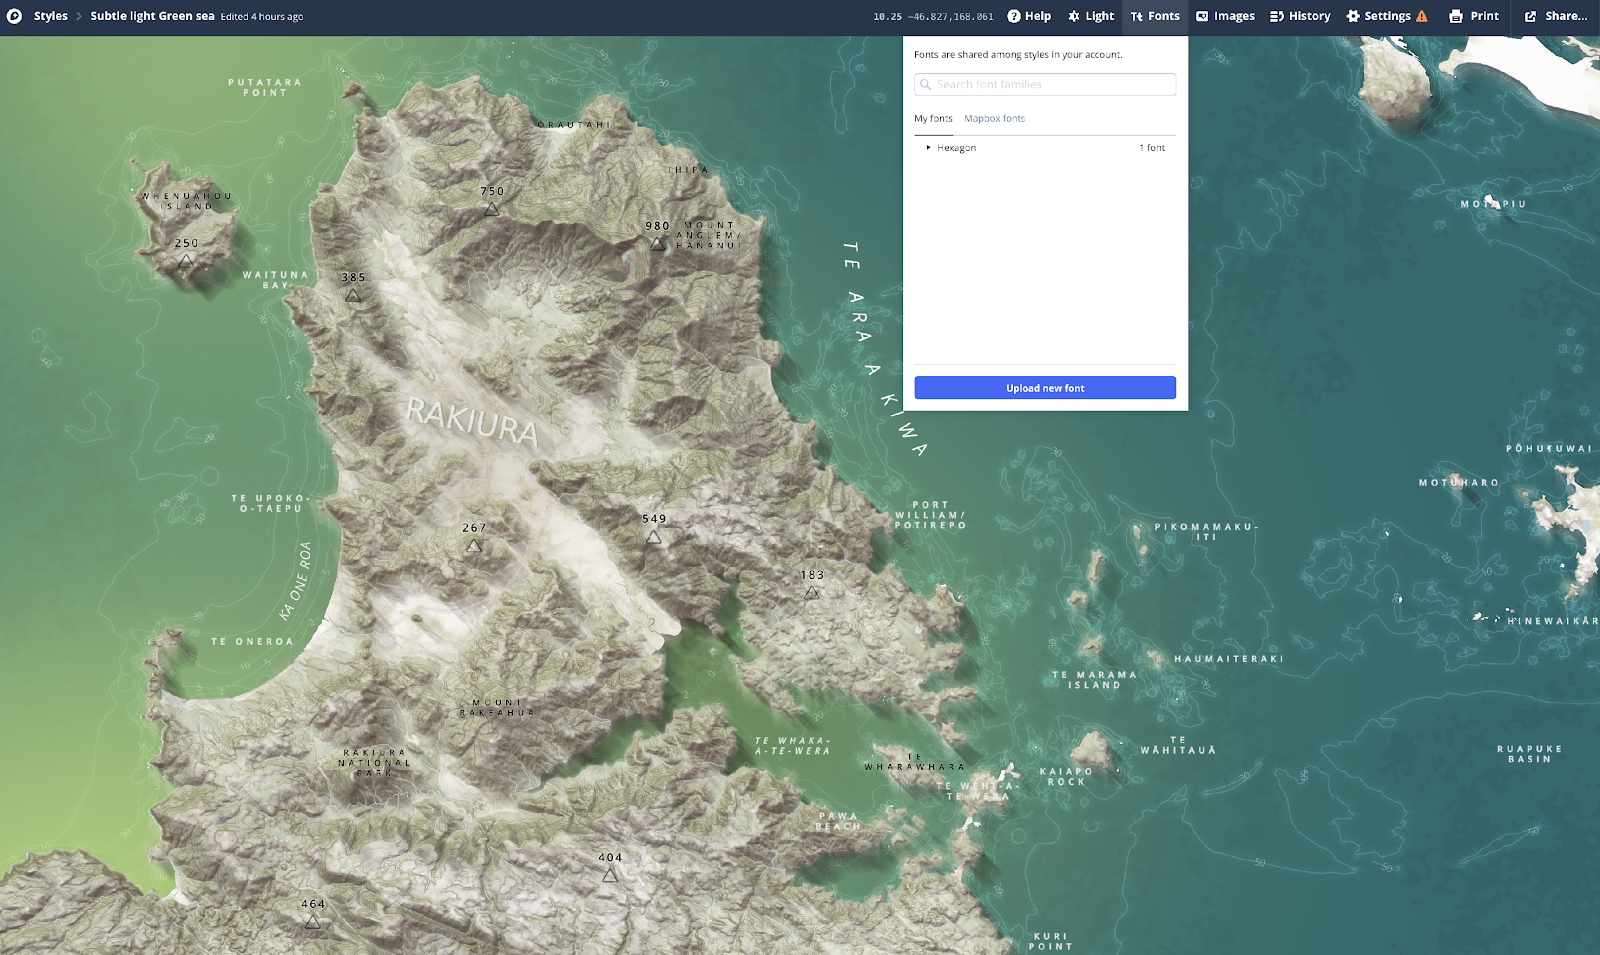
If you need a custom font, you can upload your own in .TTF and .OTF format. Go to the top banner and select “Fonts”, then press the “Upload new font” button. Your new custom font will appear in the font list.
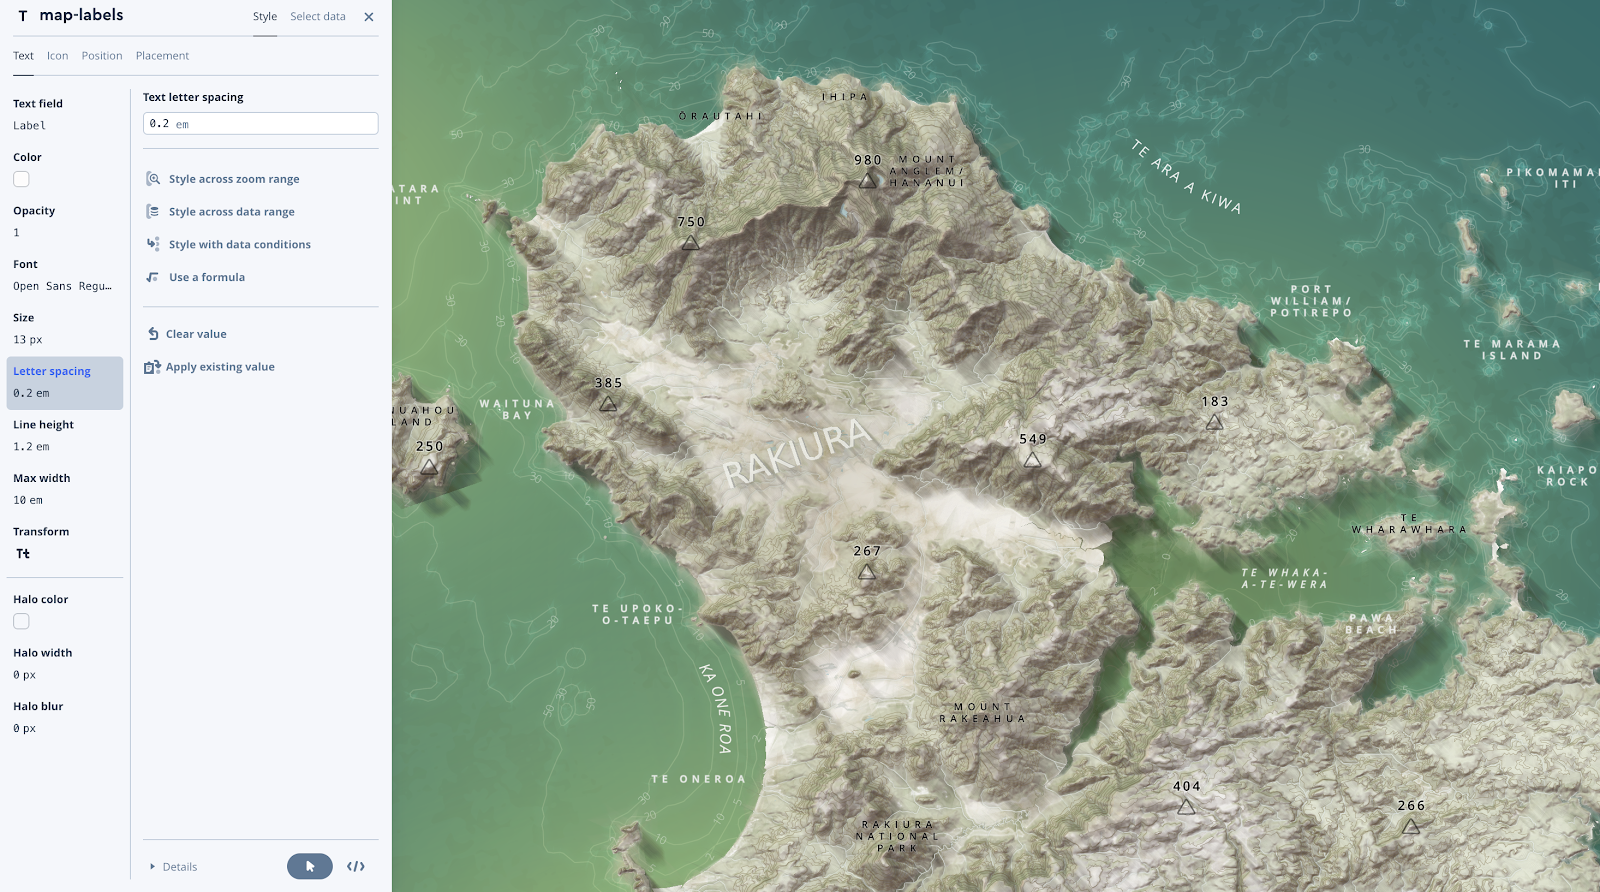
Of note here are two other useful tips! “Transform” enables you to change the case of your string text from lower to upper and vice-versa (very useful!) AND You can also create a halo for your text in this panel. Text Halo’s are especially useful for “busy” map backgrounds.
I hope these steps can aide your creative cartography urges and give your labelling a little something extra! Please experiment and play.
I would love to see how you might use these techniques, share your labels on Twitter with #BuiltWithMapbox
